Here is a list of the tools and products that I use regularly when repairing and restoring these clubs.
Hammers
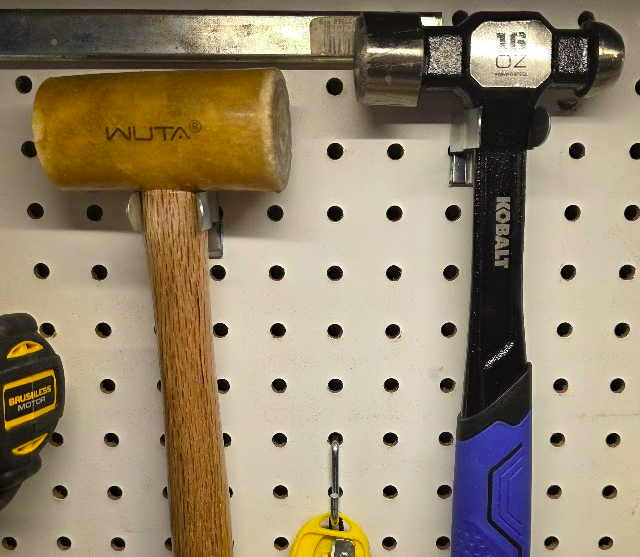
I use two main hammers. I have a 16oz ball-peen hammer for driving old pins out and peening out new pins.I also used a rawhide hammer for getting the club head off. This hammer is much softer than a metal one and doesn’t bounce back like a rubber one.
Punches
I used two punches when getting old pins out. The first is a tapered punch. It is about 1/16” at the bottom but quickly tapers up. It is sturdy and great at getting pins started. I have bent many smaller straight pins when trying to get an old stubborn pin out so I always start with this one. The second is a ⅛” punch and I use that to finish getting the pins out. It is slightly smaller than the hosel holes and I leave it rounded at the bottom so it doesn’t get caught on the inside of the hosel.
Vise
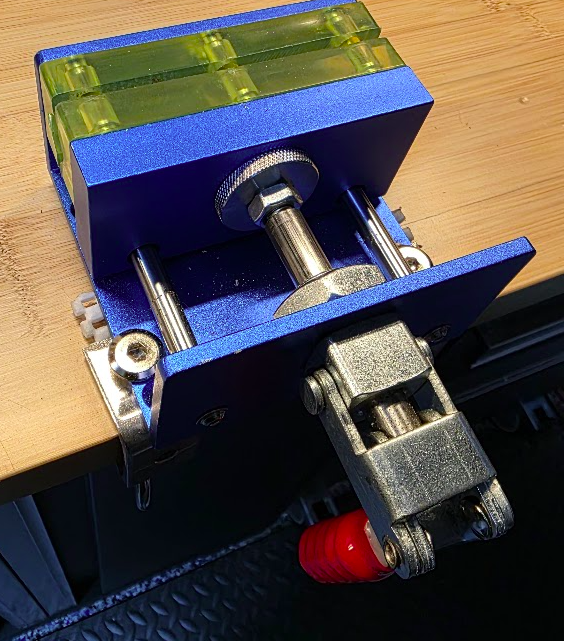
I use a golf club specific table mount vise that I can remove from my bench if I need to. It has a rubber head that is specifically designed to hold a club shaft and can be adjusted easily for thinner or wider parts of the shafts. The only downside is that the club is down low in this vise and that can make some specific orientations impossible.
Whipping Stand
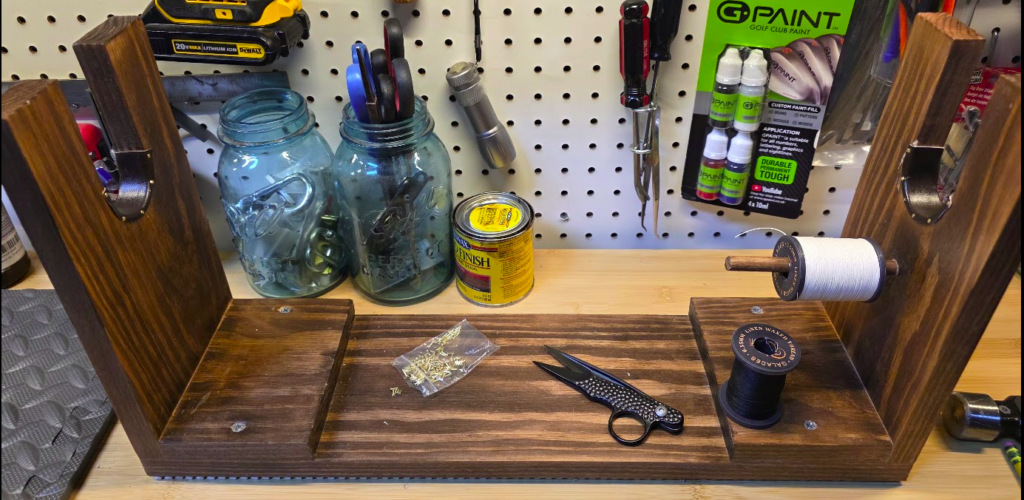
This is the tool that gets used the most, it is a simple stand that holds a golf club in a cradle and can be used for many things such as pin removal, whipping, attaching shafts to club heads, glue work, cleaning, etc. I made my own out of a single piece of 1”x 6”x 6’ whitewood. Happy to share the design if you want to make your own too.
Scissors and blades
I use various scissors as well. I keep a standard pair for trimming grip angles and cutting back the cloth friction tape. I also have a pair of small sharp sewing scissors that I use for trimming the whipping threads. The are more accurate and cut the thread cleanly. I also have sever different razor blades, an angled and a straight one for trimming grips and removing old whipping.
Tape
I keep cloth friction tape (also known as hockey grip take) to use as underlisting on the grips.A couple of quick layers of that builds up a nice taper before a leather grip is added. I also keep masking tape, both classic and blue that I used during the process. All removed shafts get marked with tape so I know what club head they belong to. The blue tape I use to block off areas when sanding, filing, painting, as a straight edge when re-grooving, or applying finishes.
Thead
Waxed and tightly wrapped is key here. It comes in various shapes and colors but when it is waxed it will create an amazing tension hold on the club and protect the thread for a long time. My preferred thread is a 0.55m waxed linen one but the 0.8mm threads work great too. I have used many different colors and styles and they all work.
Files
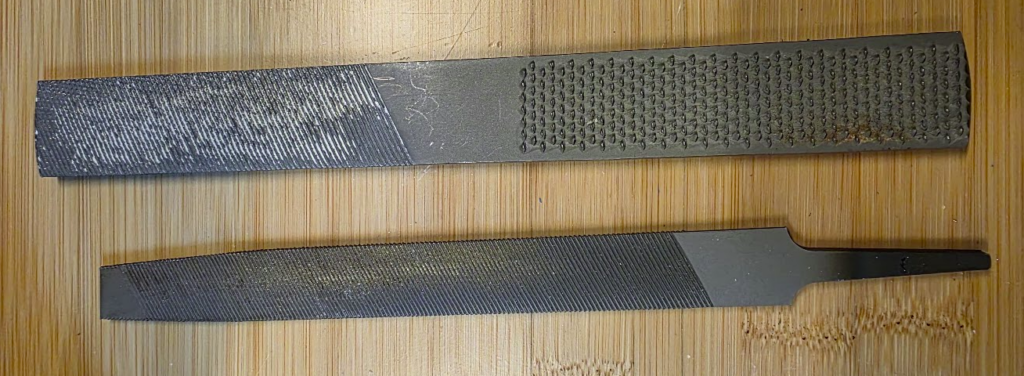
I used a couple of different files for different things. The one the gets the most use is a mill bastard file. This is a flat file with just a single direction of grooves and I use it to trim down the new brass pins before peening them flat. The next file is a 4 way rasp. It is super useful if you need to shave down or rough up the cone of a shaft before re-epoxying an club head on. The last is a triangle hobby file. This is used to re-grove wooden club heads. The triangle shape works like a saw and cysts groves quickly in a wooden club head.
Tacks and offset tweezers
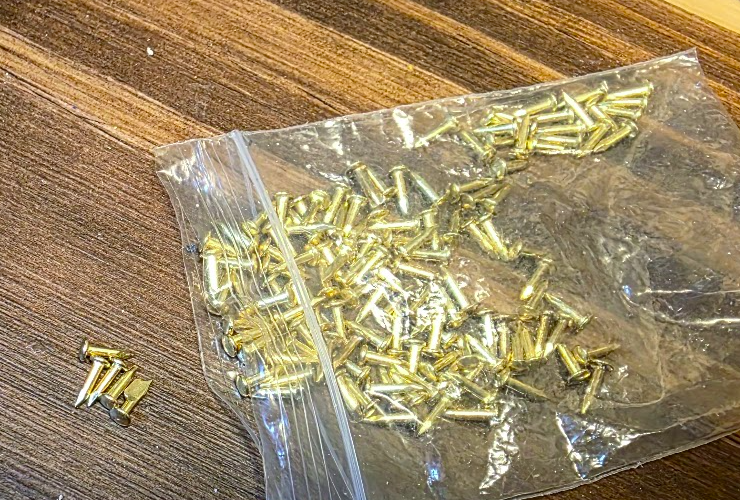
I use a 6mm brass doll house tack when re-gripping clubs. The brass tacks are easy to see and often end up under my whipping to securely lock them in place. The problem with these tiny tacks is that they are too small to hold and hammer in at the same time. I use a pair of offset or angled tweezers. Then I can hold the tack and still hit it with the hammer and not crush my fingers in the process.
Grips
I use thin traditional leather grips made with new material. Often the old leather grips are shot when I receive a club. They are falling apart, dried out, or just gone entirely. I use both suede leather and tacky leather grips from Old World Hickory. They come in all kinds of colors and are period accurate materials for the clubs.
Brushes and Steel Wool
I have a variety of different sized brass brushes for scrubbing the club heads when removing rust. I also have steel hosel brushes for cleaning out the hosels and I use 0000 steel wool for polishing. I also keep small paint brushes around for applying finished to whipping sections, especially near/on the grips.
Anvil
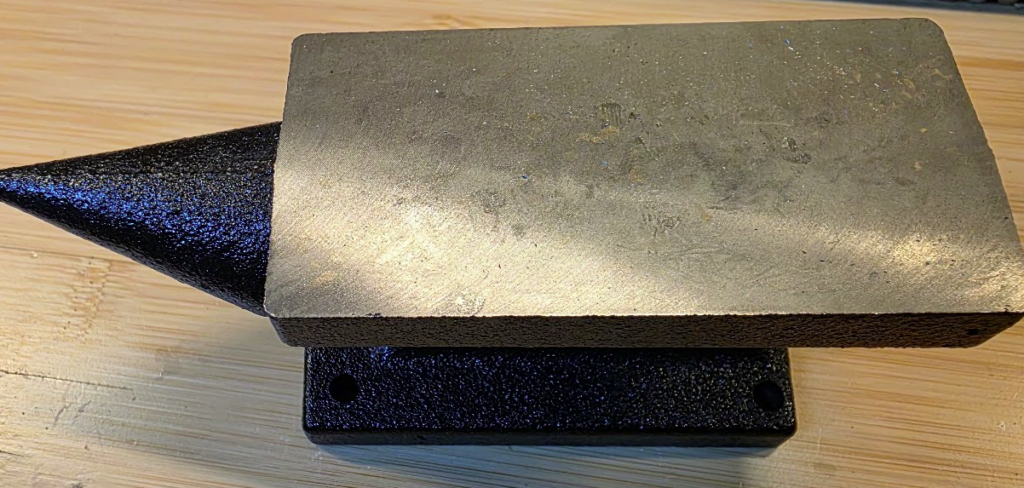
One of the tools I pull out often is a small 3lb steel jewelers anvil. This provides a great surface for hammering in the tacks on the grips as well as for peening out the new brass pins.
Epoxy
I used a modern 2 part, slow cure, golf shaft epoxy. It takes a full 24 hours to work but is well worth the wait to make sure the club heads are secured for a very long time.
Cleaning Supplies
I try to keep to simple things when cleaning up the clubs. I have a clear mineral oil for scrubbing dirt and grim out of the club heads as well as buffing them once the rust is removed. I use a standard 5% distilled vinegar to remove rust from club heads. It does a great job, just requires patience and some elbow grease when scrubbing. I keep rubbing alcohol to wipe down the shafts after sanding. This evaporates fast but gives you a wet surface on a towel to actually capture the dust. I also keep a canister of gun oil wipes for protecting the freshly de-rusted club heads until I can rub the whole club down with some skidmores. As far as towels I have a supply of microfiber towels, blue shop paper towels, and gun cleaning squares that I used for various things like applying stains and finishes.
Skidmore’s Restoration Cream
This is an awesome product that is a combination of oils and bees wax. It is safe to use on wood, metal, and leather… all of the things that a club is. It adds some natural moisture back to things but also creates a lovely barrier to keep unwanted water out. This can revive old grips as well as protect old shafts and club heads.
Birchwood Casey Tru-Oil
This is a gun-stock finish that works great wooden shafts and wooden club heads as well. The natural amber color helps keep the aged look on the club while restoring some oils to the wood and creating a lovely finish as well. It is super easy to apply and look fantastic. The only issue is that that same aber color can turn some whipping thread too dark so I don’t always use it on the whippings.
Clear polyurethane
This is what I use when I want to preserve the color of whips. It provides the same protective finish but does not mute the colors at all.
Wood Stains
There are many colors out there but my preferred ones to use with clubs are ebony (for dark persimmon club heads), honey (for that classic darker look on a shaft), and natural (for when the shaft has good color already but needs a little touch up). I prefer the Minwax penetrating stains.
Sandpaper
We use a lot of this. 80 and 120 grit when sanding down a new blank shaft to fit in a club head. 220 and 400 grit when removing the old finish off a shaft and preparing it for a new one. 0000 steel wool may even fall into the category from time to time as I use it to polish shafts as well in between coats of finish.
Paint
I use enamel based model paints for metal club heads and oil based paint markers for wooden club heads.They are pretty easy to find at hobby or craft stores and a little bit goes a long way.
Screwdriver and Tack Puller
I keep a round shaft flat head screwdriver and a handled tack/nail puller handy too. The tack puller is great when pulling out old tacks and the flat head screwdriver is great for taking off brass baseplates. The rounded shaft can also be super helpful when flattening out whipping threads or when pushing the whipping group together to make it all flush and pretty.
Leather Gloves
Sometimes to get things apart we have to heat them up and nothing is less fun than grabbing a club head that is hot. Keep a nice pair of leather work gloves close by in case you ever need them.
Heat Gun and Torch
I have a variable temp head gun that is great for heating up a stubborn hosel or gently heating a bent shaft to straighten it. The butane torch is for large problems. Occasionally you may have a head where the shaft breaks off and the cone is stubborn and won’t drill out. The torch will fix this by cooking off the wood and glue while keeping the club head in one piece.
Shaft Straightening Jig
I ended up building myself one of these to use. It is a pretty simple design; a 3’ board with two rows of offset 3” circle cams that can be tightened down to push a shaft back into a straight line. Once the cams are locked down I use a head gun to heat the shaft to loosen the wood fibers and then let it cool so it re-sets in a straight position. It is great for fixing shafts that have started to get a bend in them.
Club stand(s)
It is worth having a good storage solution for the clubs. They can quickly take up space on and around your workbench so having somewhere to put them while they are drying or curing is really worth it. I recommend one for head down storage while curing and one for head up storage as well for just general out-of-the-way-ness.
Tape Measure
Measure the clubs, measure the whips, measure the shafts, measure the stuff.
Loft gauge
I use just a simple analog magnetic loft gauge when measuring the loft of the clubs procured from Brad at Old World Hickory. It is pretty accurate and since these old clubs were made by hand it feels right to measure it that way. That in mind please note that my loft measurement may be off.
Pre-turned Shaft Blanks
I keep a few of these on hand because sometimes the shaft on a club is too far gone. I have seen ones that are cracked, splintered, bent like a boomerang, and even fully snapped. Sometimes the shaft can’t be saved, especially if the club is meant for play. In this case these pre-turned blanks make for easy work. A quick file down of the cone to fit the club head, trim off the excess shaft, and then sand the shaft to the right taper and thickness and you are good to go again.